

It’s tempting to think that a quick check for an “@” symbol is enough to js validate email addresses, but that’s a common shortcut that leaves your forms wide open to bad data. A simple client-side check is a great first step for immediate user feedback, but all it really does is confirm the format looks right—not that the email actually exists or can receive messages.
This leaves your application vulnerable and can create a lot of downstream headaches.
Why Basic Email Validation Just Doesn’t Cut It

When you only rely on a simple JavaScript regex, you’re just scratching the surface of data integrity. Think of it like a bouncer at a club who only checks if someone is wearing shoes but doesn’t bother to check their ID. The person might look the part, but that doesn’t mean they belong inside.
An email can look perfectly fine syntactically but be completely useless. This superficial approach leads to all sorts of problems that quietly hurt your business, from polluting your database and skewing analytics to wasting marketing dollars on campaigns that go nowhere.
The Real-World Impact of Poor Validation
Accepting bad email addresses has consequences that go far beyond a messy contact list. Every single invalid entry carries a real cost, whether it’s through a failed user signup or a damaged sender reputation.
I’ve seen these scenarios play out time and time again:
- Bounced Marketing Emails: Sending campaigns to non-existent addresses hammers your bounce rate. Email providers like Google and Outlook see this as a huge red flag, and over time, it can wreck your domain’s sending reputation, pushing even your valid emails straight to the spam folder.
- Failed User Signups: A user makes a simple typo during registration (
user@gmial.com). Without a solid validation process, they never get that confirmation link, can’t access your service, and you’ve just lost a potential customer out of frustration. - Security Vulnerabilities: Allowing fake or disposable email addresses is an open invitation for spam bots and bad actors. They can create phony accounts, abuse your free trials, or even exploit your platform.
A truly effective strategy needs a two-layer defense. You need fast client-side checks for instant user feedback, backed by powerful server-side verification to make sure the email is real, deliverable, and safe to add to your database.
This dual approach is non-negotiable for serious businesses. To get more context, understanding why email verification is essential for B2B campaigns helps frame this as a smart business strategy, not just a technical chore.
Client-Side Validation with Regular Expressions
When you need to validate email inputs, regular expressions (or regex) are the classic go-to for client-side checks. Think of regex as a simple pattern-matching tool that JavaScript uses to see if an email looks right. It’s your first line of defense, catching obvious typos right in the user’s browser before they even hit “submit.”
This kind of check is purely structural. It quickly confirms that the input has text before the @ symbol, the @ symbol itself, and a domain after it. Because it all happens instantly on the user’s device, it provides immediate feedback and creates a much smoother experience.
Breaking Down a Common Regex Pattern
One of the most widely circulated regex patterns for email validation is /^[a-zA-Z0-9.!#$%&'*+/=?^_{|}~-]+@[a-zA-Z0-9-]+(?:.[a-zA-Z0-9-]+)*$/`. It’s a mouthful, I know. While it gets the basic job done, this specific pattern is a great example of how regex can be too rigid. It often fails to recognize valid emails that contain special or international characters, which means you could end up blocking legitimate users.
Here’s how you might put a regex check into a simple JavaScript function. This snippet takes an email string and tests it against the pattern, returning true if it matches and false if it doesn’t.
function validateEmailWithRegex(email) {
const emailRegex = new RegExp(
/^[a-zA-Z0-9.!#$%&’+/=?^_`{|}~-]+@[a-zA-Z0-9-]+(?:.[a-zA-Z0-9-]+)$/
);
return emailRegex.test(email);
}
// Example Usage:
console.log(validateEmailWithRegex(“test@example.com”)); // Returns true
console.log(validateEmailWithRegex(“test-example.com”)); // Returns false
You can easily hook this function into a form input’s onkeyup or onblur event to give users instant validation messages as they type.
The Inherent Limitations of Regex
While regex is fantastic for spotting simple mistakes like a missing “@” or a typo in the domain, it’s far from a complete solution. It has one glaring flaw: it can only check if an email’s format is plausible, not if the address actually exists.
Key Takeaway: Client-side regex validation confirms an email’s structure, not its existence. It’s an excellent filter for typos but cannot tell you if an email address is actually deliverable or belongs to a real person.
This is a critical distinction to make. For instance, a regex pattern will happily approve no-one@this-domain-does-not-exist.com simply because it fits the local-part@domain structure. Overly strict patterns can also create frustrating roadblocks for real users.
Here are a few common scenarios where regex often falls short:
- Emails with plus signs: Many people use address tags like
myname+newsletter@gmail.comto organize their inbox. A poorly written regex will often reject the+as an invalid character. - New Top-Level Domains (TLDs): With domains like
.marketingor.photographybecoming common, a regex that only looks for classic 2-3 letter TLDs (.com,.org) is already obsolete. - International characters: Email addresses can now contain non-Latin characters (like
josé@example.com), which most standard regex patterns will incorrectly flag as invalid.
So, where does that leave us? Regex is a great starting point for instant, client-side feedback. But it’s just the first piece of the puzzle. To be truly confident in your data, you need to check if an email exists with a more reliable server-side approach.
Leveraging HTML5 for Simple Validation

Before you even think about writing a single line of JavaScript, you can let the browser do some of the heavy lifting. Modern browsers come with powerful, built-in HTML5 form validation that acts as an effective first line of defense against bad data.
The absolute easiest way to get started is by using the correct input type. Simply swapping <input type="text"> for <input type="email"> instantly tells the browser to expect a string that looks like a real email address. If a user types something that doesn’t fit the standard format, the browser automatically shows a default error message.
This is great for user experience because the validation messages are consistent with the user’s browser and operating system, making them feel familiar and less jarring.
Adding More Control with Attributes
Beyond just type="email", HTML5 gives you a few other attributes to beef up your form’s validation without any custom scripts.
- The
requiredAttribute: This one is a must-have. Addingrequiredto your input field makes sure it can’t be left blank, which is a simple way to prevent empty submissions. - The
patternAttribute: When the default email check isn’t quite enough, thepatternattribute lets you bring in your own regular expression. This gives you the precision of a custom regex with the dead-simple implementation of an HTML attribute.
For instance, a field like <input type="email" required pattern=".+@example.com"> would only accept non-empty email addresses coming from the “example.com” domain.
By combining these simple attributes, you create a solid baseline for validation. This handles common user errors directly in the browser, which can reduce unnecessary server requests and provide immediate, helpful feedback.
HTML5 vs JavaScript for Email Validation
So, when should you stick with HTML5, and when is it time to write some custom JavaScript? Both have their place. HTML5 is all about simplicity and speed, while JavaScript offers total control over the user experience.
Here’s a quick breakdown of how they stack up against each other.
| Feature | HTML5 <input type='email'> |
Custom JavaScript (Regex) |
|---|---|---|
| Ease of Use | Very Easy. Just add the attribute. | More Complex. Requires writing and testing code. |
| Customization | Limited. Uses default browser error messages. | Fully Customizable. Control messages, style, and behavior. |
| User Experience | Good. Familiar, browser-native popups. | Excellent. Can provide real-time, branded feedback. |
| Performance | Excellent. Handled natively by the browser. | Good. Well-written code is fast; poor code can lag. |
| Best For | Quick forms, prototypes, and basic validation. | Branded experiences, complex rules, real-time checks. |
Ultimately, the best approach often uses both. Start with HTML5 for a solid, accessible foundation, and then layer on JavaScript for the enhancements.
Knowing When to Add JavaScript
While HTML5 is a fantastic starting point, it has its limits. The validation messages are pretty generic and can’t be easily styled to match your site’s branding or tone of voice. You also might need more complex logic that HTML attributes just can’t handle on their own.
This is where you bring in a custom js validate email solution. Think of it as an enhancement. Use HTML5 for the initial, universal check, and then use JavaScript to add custom error messages, provide real-time feedback as the user types, or enforce more advanced validation rules.
Server-Side Verification with APIs

Client-side validation, whether you’re using regex or HTML5, is a great first line of defense. It provides a better user experience and catches obvious typos right away. But that’s all it can do—confirm an email’s format.
It can’t tell you if fake@fakedomain123.com is a real, deliverable address. To get that level of certainty, you have to take the verification process to your server.
This is where third-party email verification APIs come into the picture. Instead of just glancing at the syntax, these services run a series of real-world checks to figure out an email’s true status. The workflow is pretty simple: after a user submits a form, your server pings the API with the email address for a much deeper analysis.
What an API Check Actually Does
Unlike a simple js validate email function on the front end, an API goes miles further to confirm an email’s legitimacy. It isn’t just looking at the structure; it’s investigating the digital footprint of both the address and its domain.
A quality verification service will typically check for several key things:
- Deliverability Status: Does the email address actually exist and can it receive mail? This is the most fundamental question an API answers.
- Disposable Domains: It flags emails from temporary, throwaway services like Mailinator, which are notorious for being used to abuse signups.
- Role-Based Accounts: The API can spot generic addresses like
info@,support@, orcontact@, which are usually poor-quality leads for marketing. - Syntax and Typos: It even catches common spelling mistakes in popular domains, like
user@gnail.cominstead ofgmail.com.
This multi-layered approach provides a level of assurance that client-side checks can never match. It shifts the goal from just accepting a “correctly formatted” email to ensuring you only collect high-quality, actionable contact data.
The Business Case for API Verification
Plugging in an API isn’t just a technical upgrade; it’s a smart business decision. For mission-critical apps like marketing portals or secure platforms, pairing client-side checks with server-side API verification can boost your email accuracy to over 95%.
With global email traffic blowing past 350 billion messages every day, keeping your list clean has a direct impact on the bottom line. It can increase campaign open rates by an average of 15% and slash bounce rates by up to 20%.
By stopping fake signups at the door and improving your data quality from day one, you protect your sender reputation and squeeze more ROI out of every single email you send. For a detailed breakdown of how this technology works, check out our comprehensive guide to the email validation API.
Building a Multi-Layered Validation System
If you want to protect data quality without frustrating your users, a layered approach is the way to go. Combining client-side checks with server-side verification creates a robust system that catches errors early and efficiently. You start with the simplest check and only move to more intensive methods when necessary.
Think of it as a funnel. The process kicks off with native HTML5 validation, which gives you a quick, browser-level check right out of the box. From there, JavaScript adds a second, more refined layer for real-time feedback. The final step is an asynchronous call to a backend service for true verification, but only after an email has passed the first two gates.
The Complete Validation Workflow
The key is to handle each step gracefully. Back in the day, libraries like jQuery made it simple to bind validation events to form inputs, and that core concept is still sound today. Just using a simple regex test can provide immediate feedback and cut down on user submission retries by around 25%. You can find some more great insights on JavaScript email validation over at mailtrap.io.
This infographic breaks down the layered flow perfectly, from the moment a user starts typing to the final feedback they receive.
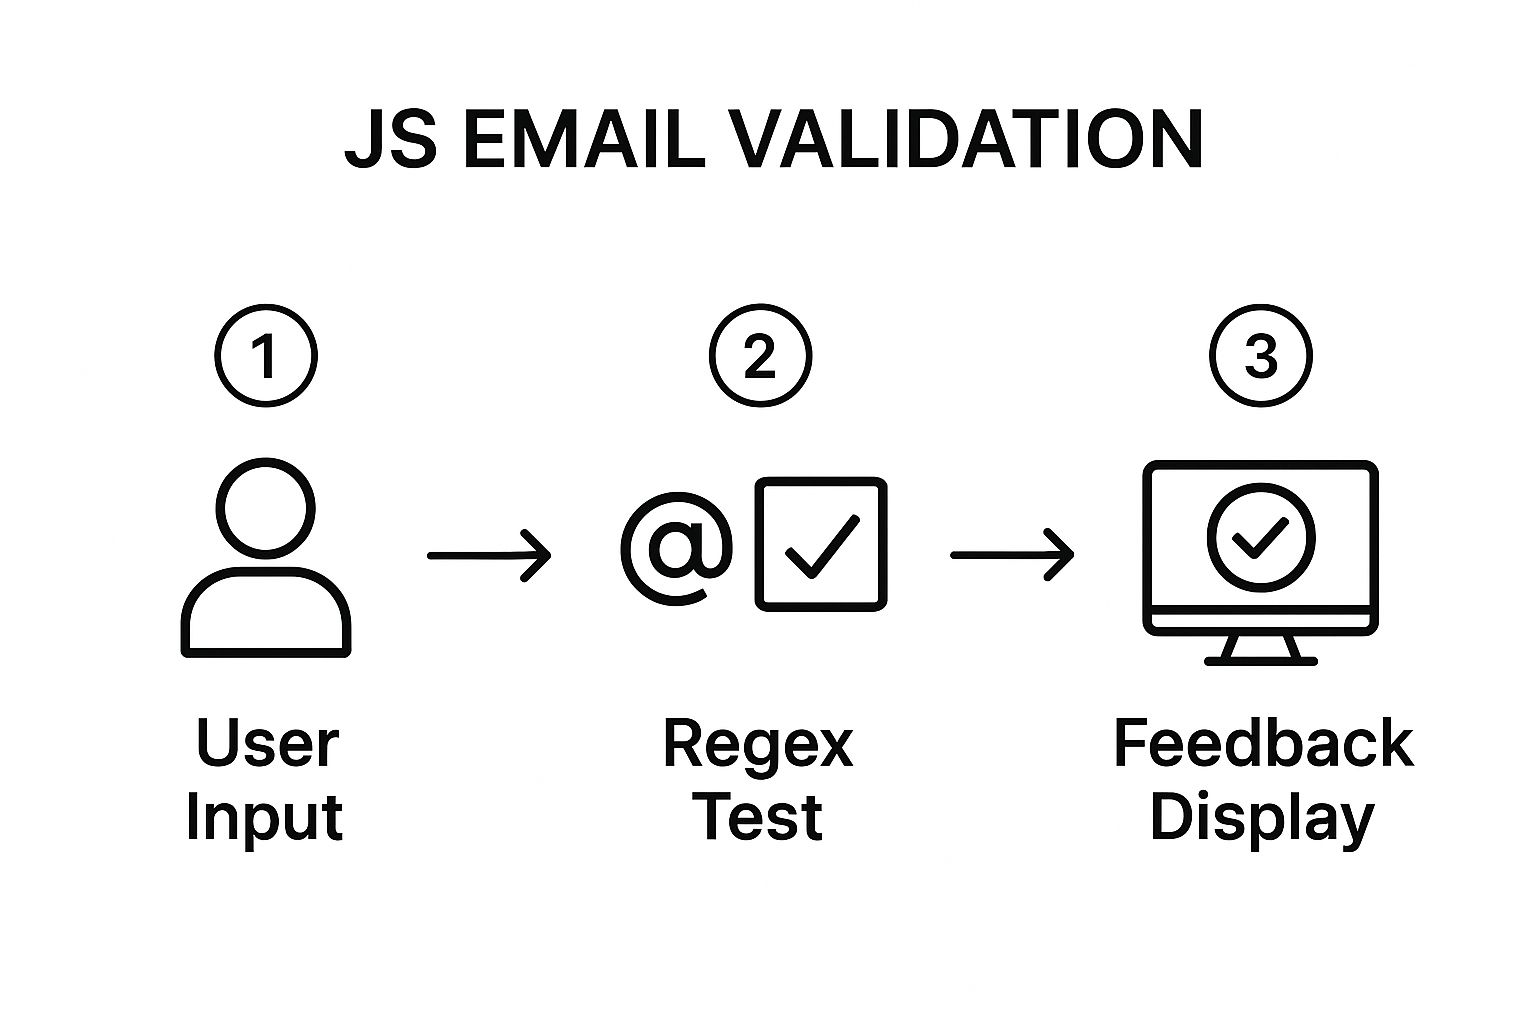
As you can see, each step acts as a filter. It’s designed to catch different types of errors before escalating to the next, more resource-intensive check.
Layering your validation is just smart engineering. Simple typos get caught instantly by the browser or your JavaScript, while your server-side resources are reserved only for verifying emails that have already passed the initial format checks. This is the cornerstone of a modern approach to implementing
js validate email.
Common Questions About Email Validation
When you first start trying to js validate email inputs, you quickly run into the same handful of questions. Developers often bump up against the limits of client-side checks and wonder about the differences between all the validation methods out there. Let’s clear up some of the most common points of confusion.
One of the biggest myths is that a single, perfect regular expression can solve all your validation problems. The truth? It can’t. The official spec for what makes a valid email is way too complex for one regex pattern to cover every edge case without either blocking good emails or letting bad ones slip through.
Think of client-side regex as a practical compromise. It’s a fantastic first-pass filter for catching obvious typos and basic formatting mistakes, but it’s never a final guarantee of an email’s validity. It’s a tool for improving the user experience, not for securing your data.
That’s why relying only on client-side code is a risky move for any business-critical application.
Is Client-Side Validation Good Enough?
For a simple contact form on a personal blog? Maybe. But for anything involving user accounts, e-commerce, or newsletters, the answer is a firm no.
Client-side JavaScript is easily sidestepped. A user can just disable it in their browser, or a malicious actor could send requests directly to your server, bypassing your frontend checks entirely. You absolutely have to implement server-side validation to protect your application and ensure your data is clean. This brings us to another critical point.
Validation vs. Verification: What’s the Difference?
This is a key concept to get right. People often use these terms interchangeably, but they mean very different things:
- Validation is just checking if an email address looks correct based on its format. Does it have an
@symbol? A domain? No illegal characters? - Verification goes a step further and confirms if an email address actually exists and can receive mail.
JavaScript running in the browser can only perform validation. True verification has to happen on the server, usually by using an API that can check DNS and SMTP records to see if the mailbox is real. This process is essential for maintaining a healthy contact database. To learn more about the benefits, check out this practical guide to email list cleaning.
So, where do you start? The best approach is a layered one. Use both HTML5 and JavaScript together. Start with HTML5’s <input type="email"> for a simple, accessible baseline. Then, add your custom JavaScript on top for more specific rules and better, branded error messages. They work together perfectly to create a stronger, more user-friendly form.